When your air conditioner isn’t cooling like it used to, the problem might not be inside your home—it could be outside. Yes, we’re talking about the outdoor air conditioner unit. Over time, dirt, leaves, and debris build up on the exterior, reducing efficiency and increasing your energy bills. Fortunately, outdoor AC maintenance isn’t as hard as it sounds. This guide will walk you through how to clean an outdoor air conditioner unit safely and effectively.
Why Cleaning the Outdoor AC Unit Matters
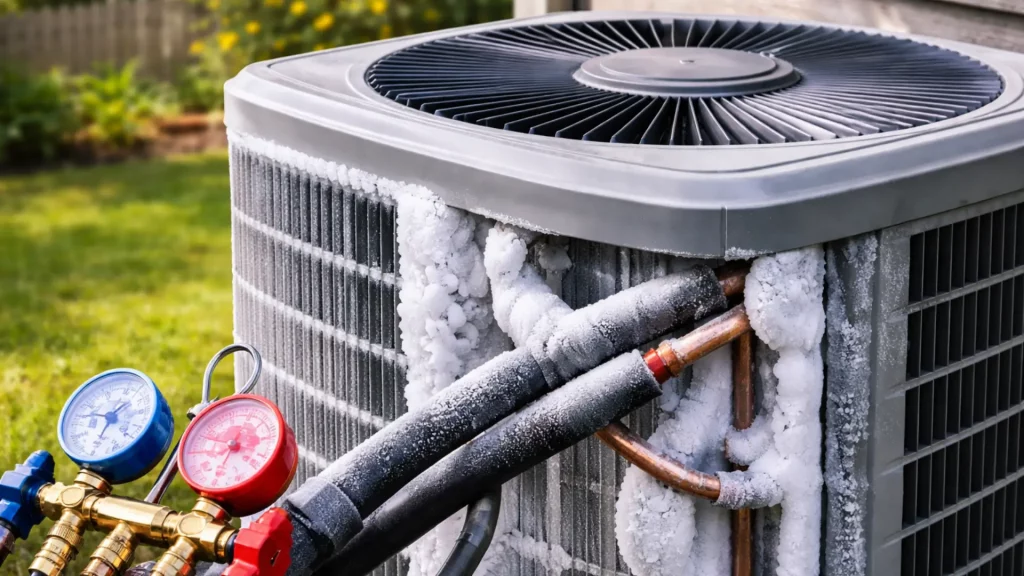
The AC outdoor unit—also known as the condenser unit—is responsible for releasing heat from your home. When it’s clogged with dirt or leaves, it has to work harder to cool your space. This leads to:
- Higher energy bills
- Poor cooling performance
- Risk of system failure
Regular AC outdoor unit maintenance can extend the life of your system, improve performance, and save you money.
Read More: How often should I get my A/C Maintenance?
How to Clean Exterior Air Conditioner: Step-by-Step
Frequency: It’s best to perform outdoor AC maintenance at least once a year, preferably in spring before peak summer heat.
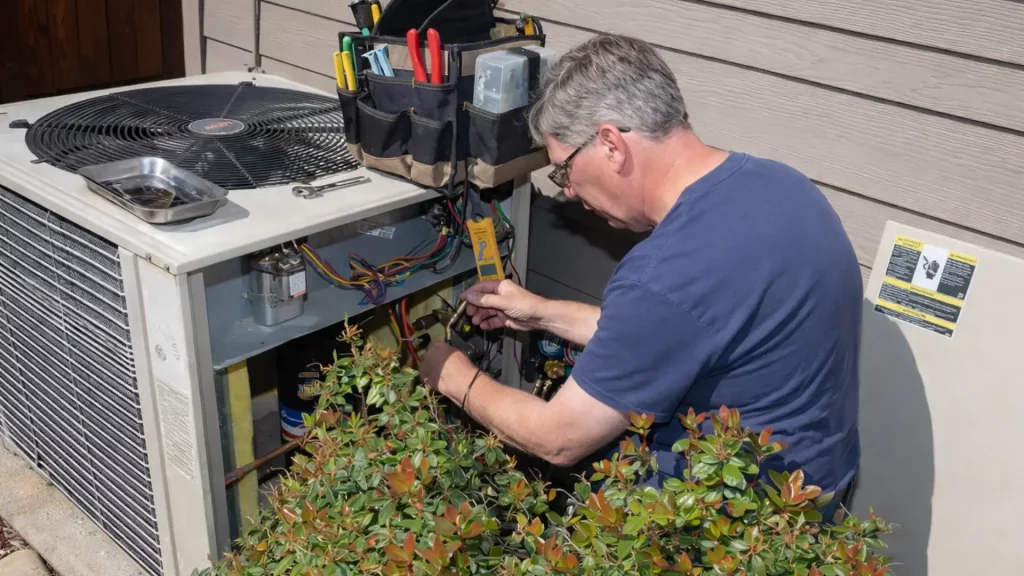
Step 1: Turn Off the Power
Before doing anything, turn off the power supply to your AC unit. You can do this at the circuit breaker or the disconnect box near the unit. Safety first!
Step 2: Remove Debris
Use gloves to clear leaves, twigs, and dirt around and on top of the unit. Trim back any nearby plants to maintain at least 2 feet of clearance for airflow.
Step 3: Take Off the Outer Cover
Remove the screws holding the top grille or fan cover. Set it aside gently to avoid damaging the fan wires.
Step 4: Clean the Fins and Coils
Using a soft brush or vacuum with a brush attachment, gently clean the aluminum fins. Be careful not to bend them. For deeper cleaning, spray with a non-acidic coil cleaner and rinse with a garden hose (low pressure only!).
Tip: Straighten any bent fins using a fin comb for better airflow.
Step 5: Rinse and Reassemble
Let the coils dry, then carefully reassemble the cover and tighten the screws. Make sure everything is back in place.
Step 6: Restore Power and Test
Turn the power back on and let the AC run for a few minutes. Check that it’s cooling properly and listen for any unusual noises.
Extra Tips for Long-Term Outdoor AC Maintenance
- Check Monthly: Remove surface-level debris like leaves and dust every few weeks.
- Avoid Covering the Unit: Covering your unit can trap moisture and cause rust.
- Schedule Professional Service: Even if you clean it yourself, consider a yearly check-up from a licensed technician.
Summary: Clean Air Conditioner Outside Unit = Better Efficiency
Learning how to clean exterior air conditioner parts can save you hundreds in repairs and energy bills. It’s a simple job that pays off with better cooling, a longer lifespan for your AC, and peace of mind.
Frequently Asked Questions (FAQs)
Q1: How often should I clean my outdoor AC unit?
It’s recommended to clean your outdoor AC unit at least once a year, preferably in the spring before the summer heat begins.
Q2: Can I use a pressure washer to clean the AC unit?
No, using a pressure washer can damage the delicate fins and coils. Use a garden hose with low pressure instead.
Q3: What tools do I need for cleaning?
Basic tools include gloves, a screwdriver, a soft brush or vacuum with a brush attachment, a non-acidic coil cleaner, and a garden hose.
Q4: Is it necessary to hire a professional for cleaning?
While DIY cleaning is effective for routine maintenance, hiring a professional annually ensures thorough inspection and servicing.
Q5: What are the signs that my outdoor AC unit needs cleaning?
Reduced cooling efficiency, higher energy bills, and unusual noises are common indicators that your unit requires cleaning.