Most homeowners do not think about their AC filter until the system starts showing problems. The airflow feels weak, rooms take longer to cool, dust builds up faster, and energy bills slowly increase. In many cases, the issue is not a major AC failure. It is simply a dirty air filter.
Your air conditioning filter plays an important role in keeping airflow steady and preventing dust and debris from entering the HVAC system. When the filter becomes clogged, the entire system has to work harder to cool your home.
The good part is that replacing an AC filter is simple, quick, and does not require technical experience. With the right filter and a few minutes of basic maintenance, you can help your air conditioner operate more efficiently and avoid unnecessary strain on the system.
Signs Your AC Filter Needs Changing
A clogged filter usually gives several warning signs before it starts affecting the entire system. Paying attention to these changes can help you replace the filter before it creates larger performance issues.
- Weak Airflow From Vents: If the airflow coming from your vents feels lower than usual, a dirty filter may be restricting circulation. The blower has to push air through accumulated dust and debris, which reduces airflow throughout the house.
- Dust Accumulates Faster Indoors: When filters become overloaded, they lose their ability to trap airborne particles effectively. Dust may start collecting more quickly on furniture, vents, and other surfaces around the home.
- Rising Energy Bills: Restricted airflow forces the air conditioner to run longer cooling cycles. As the system works harder to maintain the thermostat setting, energy consumption increases.
- Uneven Cooling: Some rooms may start feeling warmer than others because airflow is no longer balanced properly across the system.
- AC Runs Longer Than Normal: If your air conditioner rarely shuts off or takes much longer to cool the house, a clogged filter could be reducing overall efficiency.
How Often Should You Change an AC Filter?
There is no universal replacement schedule because every home environment is different. Factors such as pets, indoor dust, allergies, smoking, and system usage all affect how quickly a filter becomes dirty.
In most homes, standard air filters should be replaced every one to three months. However, some households may need more frequent replacements, including:
- Homes with multiple pets
- Homes with allergy or asthma concerns
- Houses in dusty environments
- Systems running continuously during peak summer months
Instead of waiting for visible problems, it is better to inspect the filter monthly. If the surface looks heavily coated with dust, replacement is usually recommended.
Also Read: How Often to Replace Your HVAC Air Filter
What You Need Before Changing the Filter
Changing an air conditioning filter does not require special tools, but preparing beforehand makes the process easier.
You will need:
- A replacement filter with the correct dimensions
- A flashlight if the filter area is dark
- Gloves if preferred for handling dust
Before purchasing a replacement, check the dimensions printed on the side of the existing filter. Using the wrong size can create airflow gaps and reduce filtration performance.
Also Read: Are all air filters the same?
Step by Step: How to Change an Air Conditioning Filter
Replacing the filter is a simple process that most homeowners can complete in less than ten minutes.
Step 1: Turn Off the AC System
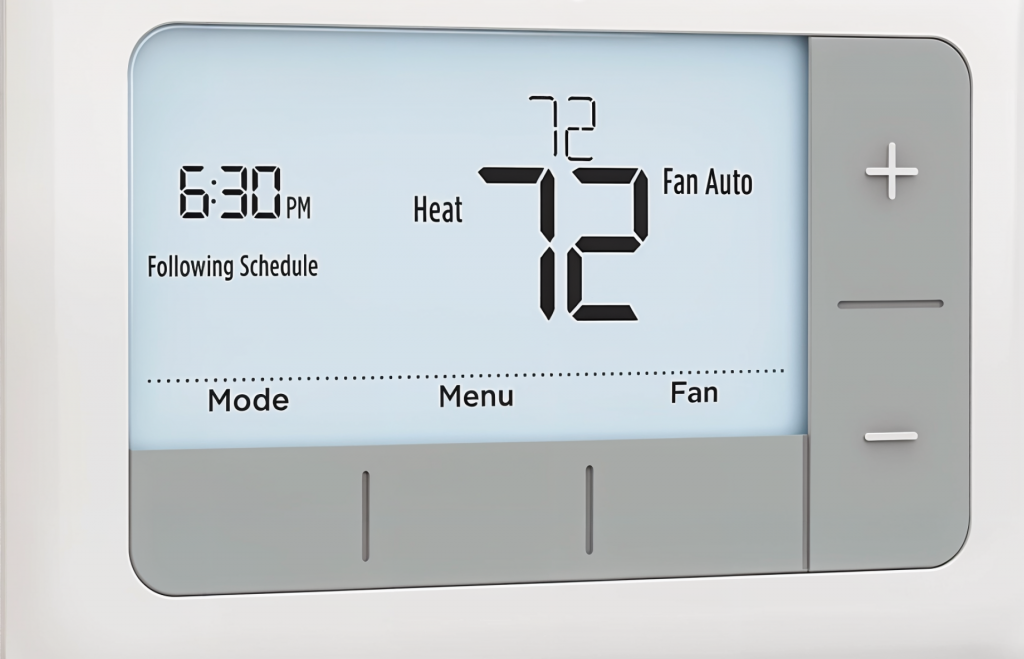
Before removing the filter, switch off the thermostat or shut down the system completely. This prevents the HVAC system from pulling dust and debris into the unit while the filter compartment is open.
Step 2: Locate the Air Filter
The filter location depends on your HVAC setup. Common locations include:
- Behind the return air vent
- Inside the indoor air handler
- Near the blower compartment
If you cannot locate the filter immediately, check the HVAC manual or inspect the largest return vent inside the house.
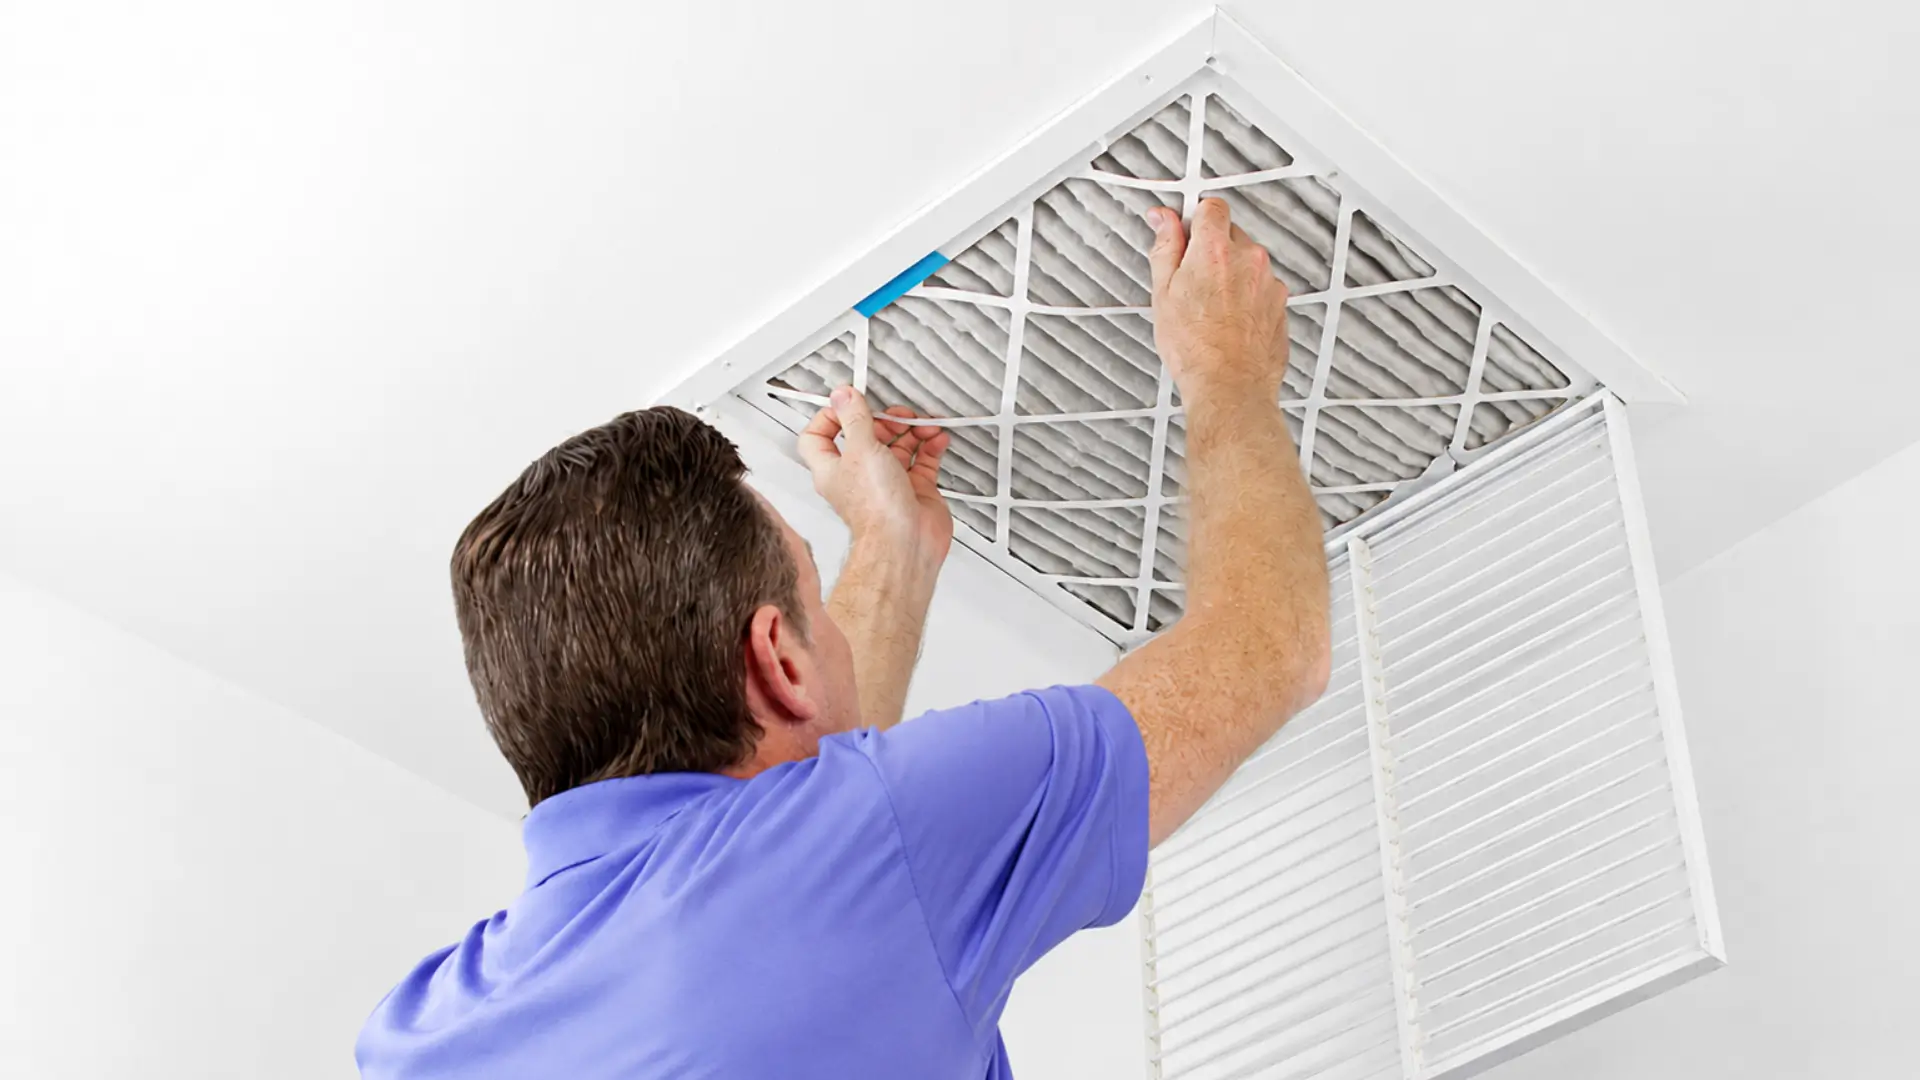
Step 3: Remove the Dirty Filter
Carefully slide the old filter out of the slot. Avoid shaking the filter excessively, as accumulated dust can spread into the surrounding area.
Before removing it completely, pay attention to the direction of the airflow arrow printed on the frame.
Step 4: Check the Airflow Direction
Every replacement filter includes an airflow arrow that indicates the correct installation direction.
The arrow should point toward the air handler or blower system, not toward the room.
Incorrect installation can reduce airflow efficiency and limit filtration performance.
Step 5: Install the New Filter
Insert the new filter securely into the compartment. Make sure it fits evenly without bending or leaving open gaps around the edges.
A properly fitted filter helps ensure dust passes through the filtration material instead of bypassing it.
Step 6: Turn the System Back On
Restore power to the air conditioner and allow the system to resume normal operation.
After a few minutes, check nearby vents to confirm airflow feels steady and normal.
Common Mistakes to Avoid
Although changing a filter is simple, a few common mistakes can still affect system performance.
- Installing the Filter Backward: The airflow arrow must always face the correct direction. Installing the filter backward restricts airflow and reduces efficiency.
- Using the Wrong Filter Size: Filters that are too small or too large may not seal correctly inside the compartment. This can allow dust to bypass the filter completely.
- Forgetting Regular Replacement: Many homeowners wait too long between filter changes. A severely clogged filter can increase strain on the blower motor and reduce system lifespan.
- Choosing an Overly Restrictive Filter: Some high efficiency filters can restrict airflow if they are not compatible with the HVAC system. Always follow manufacturer recommendations when selecting filter types.
Benefits of Regular Filter Replacement
Routine filter replacement supports both system performance and indoor comfort.
- Improved Airflow: Clean filters allow air to move freely throughout the HVAC system, helping rooms cool more consistently.
- Better Indoor Air Quality: Filters help capture airborne dust, pollen, pet dander, and other particles that circulate inside the home.
- Lower Energy Consumption: When airflow remains unrestricted, the air conditioner does not need to work as hard to maintain indoor temperatures.
- Reduced Wear on HVAC Components: Proper airflow helps reduce unnecessary stress on system components such as the blower motor and evaporator coil.
- More Consistent Cooling Performance: Clean filters help maintain stable cooling throughout the home during heavy summer usage.
Conclusion
Changing an air conditioning filter is one of the simplest maintenance tasks homeowners can perform, yet it has a direct impact on airflow, cooling performance, energy efficiency, and indoor air quality.
Ignoring filter replacement can gradually force the HVAC system to work harder, increasing operating costs and placing unnecessary strain on important components.
By inspecting the filter regularly and replacing it when needed, homeowners can support better system performance and help extend the life of their air conditioning equipment.
Frequently Asked Questions
1. Can I clean my AC filter instead of replacing it?
Some washable filters are designed for cleaning and reuse. However, disposable filters should always be replaced once they become dirty.
2. What happens if I never change my AC filter?
A neglected filter can restrict airflow, reduce cooling performance, increase energy usage, and contribute to HVAC system wear.
3. How do I know the correct AC filter size?
The dimensions are usually printed on the side of the existing filter frame.
4. How long does it take to replace an AC filter?
Most homeowners can replace an AC filter in less than ten minutes.